

Carpark Barrier Installation Singapore: MCST Playbook
For most MCSTs, a carpark barrier installation Singapore project moves from AGM approval to working hardware in 6 to 8 weeks if it is run properly, and 4 months if it is not. This blog will walk you through the realistic timeline, the civil works that go wrong most often, and what an MCST should sign off before final payment.
What MCSTs underestimate about carpark barrier installation
The hardware budget of a typical automatic barrier installed at a Singapore condo is rarely the issue. The civil works around it are. Most condo committees discover this only after they have signed off the AGM motion and the contractor has begun laying out the cables at the gantry. A typical single-lane install at a residential development costs SGD 8,000 to SGD 18,000 depending on lane count, controller specification, and how clean the existing infrastructure is. Within that figure, civil works (conduit trenching, induction loop saw-cutting, foundation pad, reinstatement) often account for 30 to 45 percent of the bill.
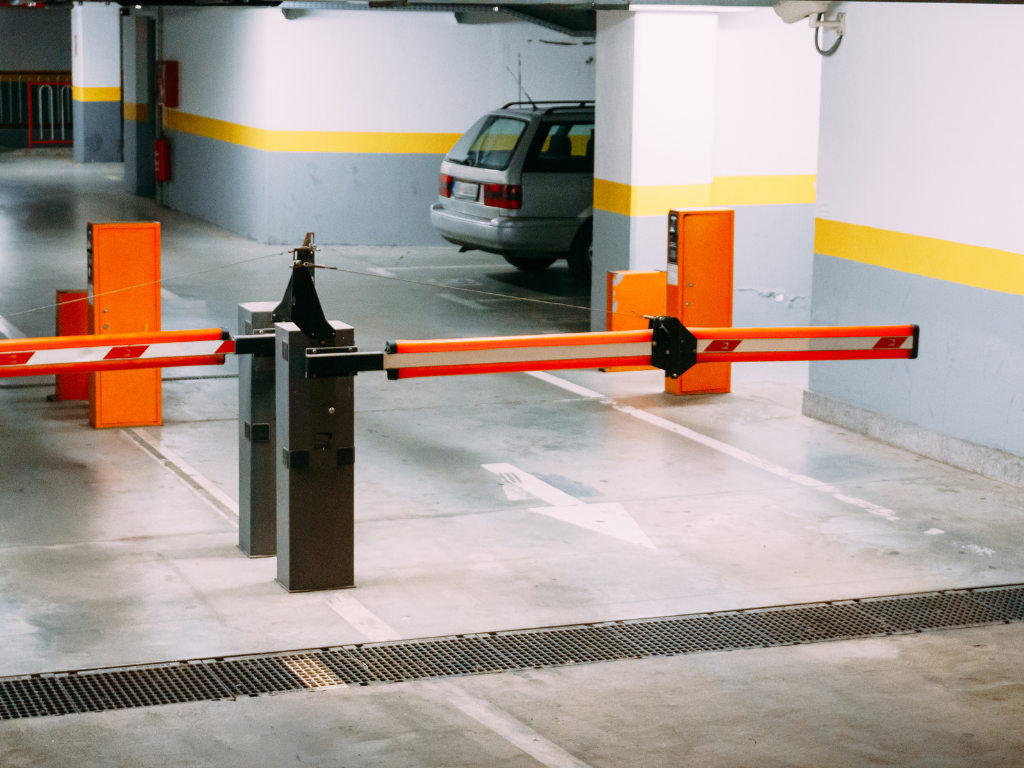
The timeline reality looks like this. Site survey occupies week zero. Civil works run weeks one through three. Mechanical install and commissioning sit in weeks three to five. Handover and the start of the defect liability period close out in week five or six. That is the realistic case at a development with cooperative residents, accessible mains power, and a single-lane gantry. Add complications and you add weeks.
Before any of this starts, an MCST should already have decided which type of barrier is being installed. The guide to choosing a car park barrier in Singapore is a useful read at the AGM-prep stage so the motion is scoped correctly.
Stage 1: Site survey (Week 0 to Week 1)
A proper site survey runs 60 to 90 minutes on site and produces a written report the contractor can quote against. Anything shorter than that is a sales visit dressed up. The surveyor walks the entry and exit lanes, takes measurements, photographs the existing power supply, and confirms what the slab looks like under the existing kerb.
What the surveyor measures
Six things matter on a Singapore condo site survey:
- Lane width and arm length. A standard condo barrier needs a 3-metre to 4.5-metre boom arm. Commercial gantries with mixed traffic may need 6 metres.
- Power supply. 230V single-phase mains within 5 metres of the cabinet position is the easy case. Anything further away means new conduit and possibly a sub-DB.
- Slab depth. A minimum 100mm of structural concrete with rebar is needed for the foundation pad. Thinner slabs mean the contractor pours a new pad.
- Drainage line position. The induction loop saw-cut cannot cross drainage covers or pipe runs. The surveyor needs to walk the full loop path.
- Overhead clearance. 2,000mm minimum above the cabinet plus the arm at full open.
- Communication backhaul. Where the controller speaks to the access control system and what cable run is needed.
A survey report that does not cover these six items is incomplete. Send it back.
Power, conduit, and trenching access
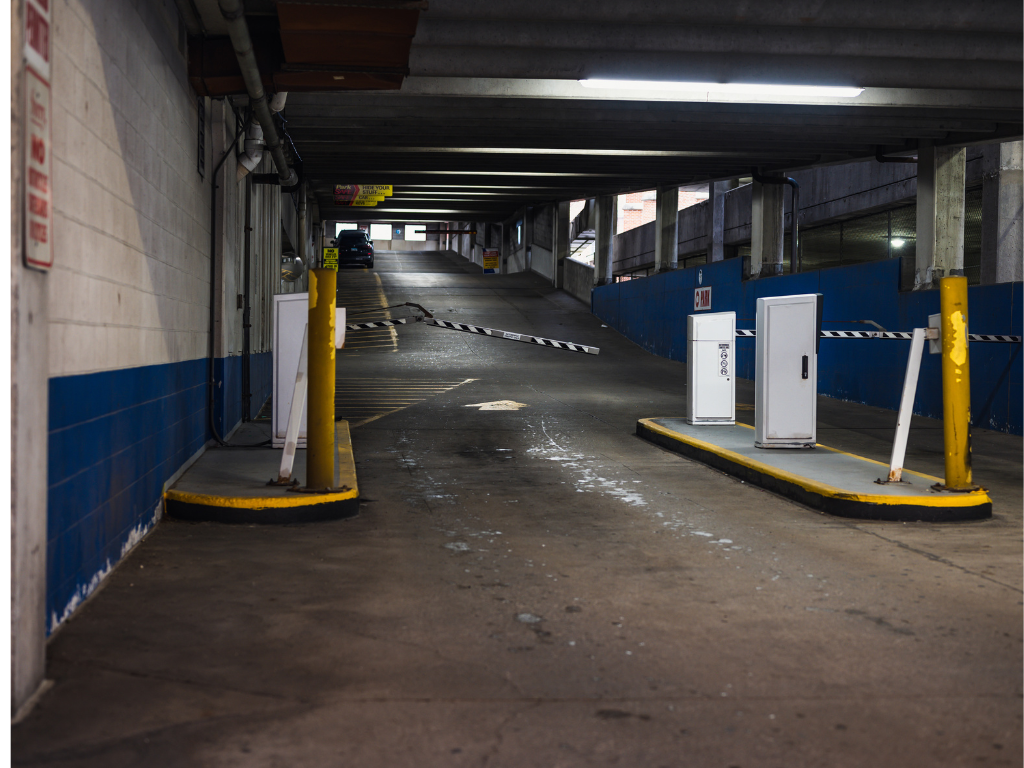
Most carparks in older Singapore developments were built before integrated barrier wiring was a normal scope item. The surveyor should mark the cable route on a plan and flag any structural columns or expansion joints the trench has to detour around. The install also has to respect the aisle widths and turning circles set by LTA in its Code of Practice on Vehicle Parking Provision, which a competent surveyor checks before the barrier position is fixed. If the route crosses a drainage cover, expect 1 to 2 extra days of civil work. The detail you want at this stage is the contractor proposing a specific automatic barrier model from the Singapore product range, not a brand bracket on a quote sheet.
Stage 2: Civil works (Week 1 to Week 3)
This is the messy stage. Civil works are where most installs slip behind schedule, and they are also the work residents notice most.
Conduit trenching
A standard conduit trench is 300mm deep by 100mm wide. The contractor saw-cuts the kerb, breaks out the existing surface, lays HDPE conduit, pulls the cables through, then backfills and reinstates. Reinstatement quality matters. A poor reinstatement cracks within six months in Singapore weather and starts a complaint cycle.
Induction loop saw-cutting
The induction loop is a coil of wire embedded under the road surface. The contractor saw-cuts a slot 50mm to 80mm deep in a rectangle (typically 1.5m by 1m), lays the wire turns, fills with bituminous sealant, and tests the loop frequency before sealing the surface. Cut depth and slot width matter because shallow loops drift in frequency and trigger false readings within months. Insist on a written loop-test report before the slot is sealed.
Foundation pad and controller box mounting
The barrier cabinet sits on a foundation pad poured during the civil week. A standard pad is 600mm by 600mm by 200mm of reinforced concrete with stainless steel anchor bolts cast in. Cabinet mounting is straightforward once the pad has cured for 48 hours.
The controller box can either sit inside the barrier cabinet or in a separate enclosure on the wall of the guard house. Many MCSTs prefer the separate enclosure because it makes the controller accessible for service without opening the road-side cabinet during traffic hours.
Stage 3: Mechanical install and commissioning (Week 3 to Week 5)
With civil works completed and the slab cured, the actual barrier install is fast.
Mounting the cabinet and arm
A two-person team can mount the cabinet, fit the boom arm, and run the cabling in a single working day. This is the visible work, and the easy work. The difficult decisions have already been made during the survey and civil stages.
Photocell calibration and safety logic
The photocell beam has to be aligned with its receiver and calibrated against the cabinet position. Misaligned photocells are the single most common reason a new barrier gets a “broken” service call in the first six weeks after handover. Insist that the contractor demonstrates the photocell trip both with a person walking through the beam and with a vehicle present. The induction loop should hold the arm up while the vehicle is on it and drop the arm only when the loop is clear. The HSE’s guidance on powered-gate safety covers the force and reversing behaviour the contractor should be testing against.
Tying into access control
The controller talks to the existing access control system, the gooseneck reader, and where required, the fire alarm panel. This integration is the part most contractors quote loosely. For premises that must appoint a registered Fire Safety Manager under SCDF rules, the FSM will verify this interface in the annual fire safety report, so commissioning evidence has to hold up months later. Ask for a written commissioning checklist that lists every input, every output, every test event, and the expected response. Without it, you cannot verify the barrier behaves correctly during a fire drill.
Stage 4: Handover, sign-off, and the defect liability period
The handover is where MCSTs lose the most leverage they will ever have over the contractor. Most MCSTs sign too quickly.
What the handover document should contain
A complete handover pack has the test certificates (loop-test, photocell-test, fire alarm interface), the as-installed wiring drawings, the controller programming sheet, manuals, two sets of remotes, two sets of manual release keys, and the access control credential list. If any of those are missing, do not sign.
Defect liability period
A standard defect liability period in the Singapore market runs 12 months from the date of handover sign-off. During this window, all parts and labour for any failure not caused by misuse are the contractor’s responsibility. The MCST should hold a retention sum (typically 5 percent of the contract value) until the DLP closes, and only release it after a final joint inspection.
This is also where the post-DLP service contract gets agreed. A reasonable after-sales service plan covers half-yearly preventive maintenance, a stated response time for breakdowns, and unit pricing for any out-of-warranty parts. The post-DLP service should not start as a vague verbal arrangement.
Common reasons the timeline slips past 8 weeks
Five things push a 6-to-8 week project to 12 weeks or more.
The first is an AGM motion that is too vague. If the resolution authorises “barrier replacement” without specifying lane count, controller, or remote integration, every contractor quotes against a different scope and the tender drags by 2 to 4 weeks. A useful reference at the scoping stage is the boom gate vs lot blocker comparison, because some MCSTs realise during AGM debate that the actual problem is bay enforcement, not entry control.
The second is discovering a hidden drainage line during loop saw-cutting, which adds 3 to 7 days for re-routing or shallow-loop redesign.
The third is a power supply that turns out to be insufficient. A separate sub-DB run can add a full week of M&E work, and it is the kind of issue a thorough site survey should have flagged before the AGM.
The fourth is resident objection during the civil works week. Loud trenching during weekday business hours invites complaints and forced rescheduling, especially in older developments.
The fifth is access control integration that needs the building’s IT vendor on site at the same time as the barrier contractor. Coordinating two vendors usually costs 2 to 5 working days nobody quoted for.
Conclusion
A carpark barrier install is not difficult work, but it is exact work. Survey thoroughly, scope the civil component honestly in the AGM motion, hold the retention sum until the DLP closes, and the project lands on budget and on time. Skip any of those, and the barrier becomes the most expensive complaint generator in the development.
Speak to the Enforce team for a site survey on your condo, factory, or commercial entrance, and get a barrier installation timeline grounded in your actual conditions, not a generic six-week template.
Frequently asked questions
How long does a carpark barrier installation take in Singapore?
A single-lane installation at a typical condo runs 6 to 8 weeks from contractor mobilization to handover sign-off, assuming a clean site survey, accessible mains power, and no resident objections. Two-lane gantries with crash protection or full access control integration usually add 1 to 2 weeks for additional civil works and commissioning.
What civil works are involved in barrier installation?
The main civil works are conduit trenching for power and signal cables, induction loop saw-cutting for vehicle detection, a reinforced foundation pad for the cabinet, and mounting work for the controller box. Reinstatement of the trench and the saw-cut slot is part of the civil scope and should be specified clearly in the contract, not assumed.
When should an MCST raise the barrier replacement at AGM?
Bring the motion to the AGM with a fully scoped specification: lane count, controller brand, integration requirements, and an indicative budget supported by at least two written quotations. A vague “barrier replacement” motion creates tender confusion and pushes the project back by months while the council collects revised quotes.
What is the defect liability period for a carpark barrier in Singapore?
The standard defect liability period is 12 months from the date of handover sign-off. During this window, the contractor covers all parts and labour for failures not caused by misuse. The MCST should retain 5 percent of the contract value until the DLP closes and a final joint inspection has cleared any outstanding defects.
Do I need fire alarm integration for the barrier?
Most condo gantries in Singapore require it. The barrier controller should have a relay input wired to the fire alarm panel that forces the arm to the open position during evacuation. This is verified during commissioning and should appear on the handover certificate. A barrier without fire alarm integration will fail an FSM inspection and become a liability for the council.